Gingerbread Figgy Bars
Once again a good recipe is made better because I can't resist- and the good recipe is from a vintage Country Living Magazine.
The dust has settled on the trip Mr. Century Farmhouse and I took to the Ohio Country Living Fair. The Not Just a Gingerbread Cookie
demo was fun to do, and there were lots of people there to taste test the goodies. What fun!
When I start putting ideas together for a talk, especially a talk that involves recipes, I begin with what I know. And I knew exactly what I wanted: I dug out my favorite gingerbread recipe
and I dug through the stacks of old Country Living magazines that fill the extra cupboard in my kitchen. You know, like the stacks you probably have stashed in your house, and that you dig through when you are looking for just the recipe you know is there. Somewhere.
Ha! I found it after digging through only three stacks.
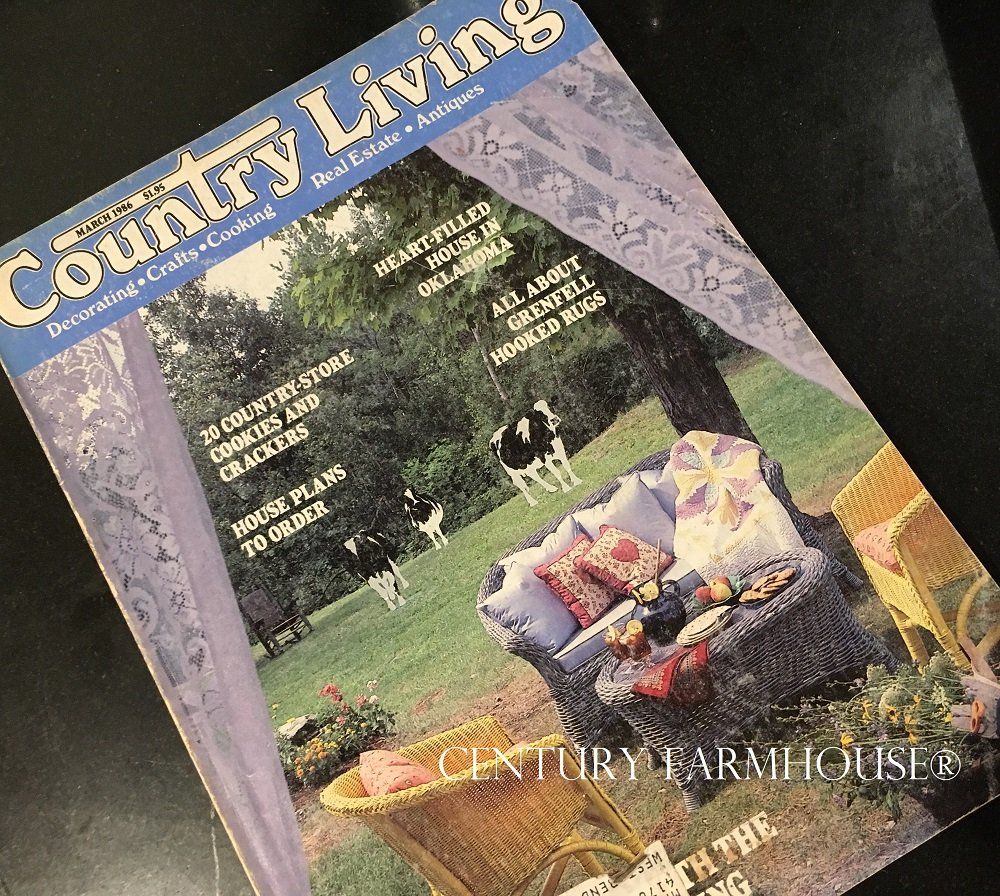
There are several very vintage Country Living magazines that I use over and over, and this is one of them. Think of it: March 1986. What were you doing then? I was living in a log house on a farm about 35 miles north of Century Farmhouse, had two little girls and was getting ready to move to Montana to work on the Northern Cheyenne Reservation - but that's a story for another time.
Anyway, the Country Store cookie and cracker recipes in this March 1986 issue of Country Living Magazine are fabulous. I love the raisin pies and the cheese crackers and the soda crackers and the graham crackers, and I have made them many times over the years. For this demo I needed the fig bars recipe though, and I needed to change it.
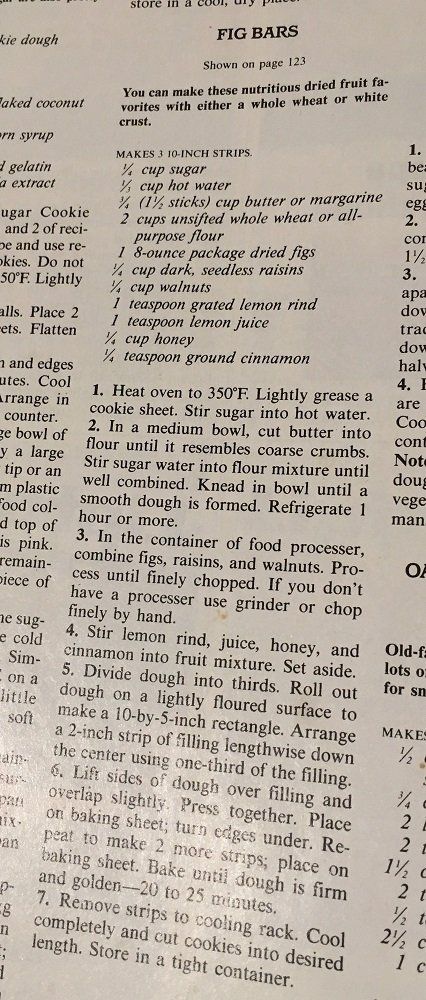
That filling recipe was perfect for the gingerbread figgy bars, but it needed to lose the nuts and get jazzed up! Nut allergies are too serious to play around with when people want to taste the samples and gingerbread dough has a lot of flavor going for it already. The filling couldn't be overpowered and needed to complement the cookie holding it. So here is my version of the fig filling and the actual Gingerbread Figgy Bars recipe:
Gingerbread Figgy Bars
Mix one recipe of the Gingerbread Men cookie dough from the Our Favorite Recipes book. Here's the link.
You will use about 1/3 of the dough for this recipe. Freeze the rest of the dough for future cookies or use it in another way. Or not. Maybe you want to make more filling to make more Figgy Bars! Have fun.
Filling:
1 cup coarsely chopped dried figs
1/2 cup raisins
1/4 cup finely chopped crystallized ginger
1/4 cup honey plus more if needed
2 teaspoons grated orange peel
1 teaspoon lemon juice
1 teaspoon whiskey vanilla
or vanilla extract
heaping 1/4 teaspoon cinnamon

1. Put all the filling ingredients into the bowl of your food processor and chop very finely or use the puree setting. The filling will still be quite coarse when finished.
2. Add more honey a tablespoon at a time if the filling seems dry. It should be quite sticky; should not fall apart and should not be drippy.
3. Set this mixture aside and prepare the cookie dough wrapping.
4. On a piece of parchment paper, roll out the gingerbread dough into a rectangle and cut it to about 6 inches wide by about 9 inches long. Of course you can play with these sizes, making the final cookie log bigger or smaller as you'd like. The dough should be rolled quite thin (about 1/8 inch thick); this will make it somewhat difficult to work with, so after rolling the dough, set it in the refrigerator for about 15 minutes to stiffen back up.
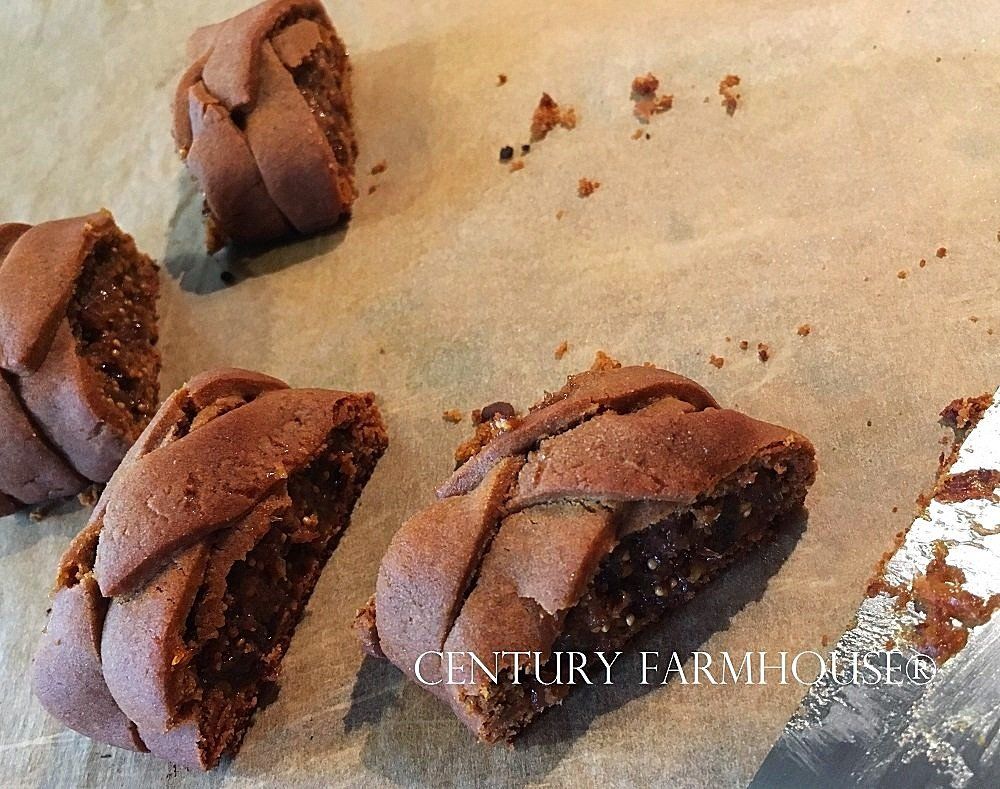
5. Using a sharp knife or a bench scraper, cut "fringes" about 1 3/4 inches long and about 3/8 inch wide along the long edge of the dough rectangle. This should leave the middle section of the dough (a little more than 2 inches wide) uncut.
6. Pick up a handful of the filling mixture and shape it to fit the middle section. You may have to do this several times to fill the middle section of the rectangle completely. The filling should be about 3/4 inch thick.
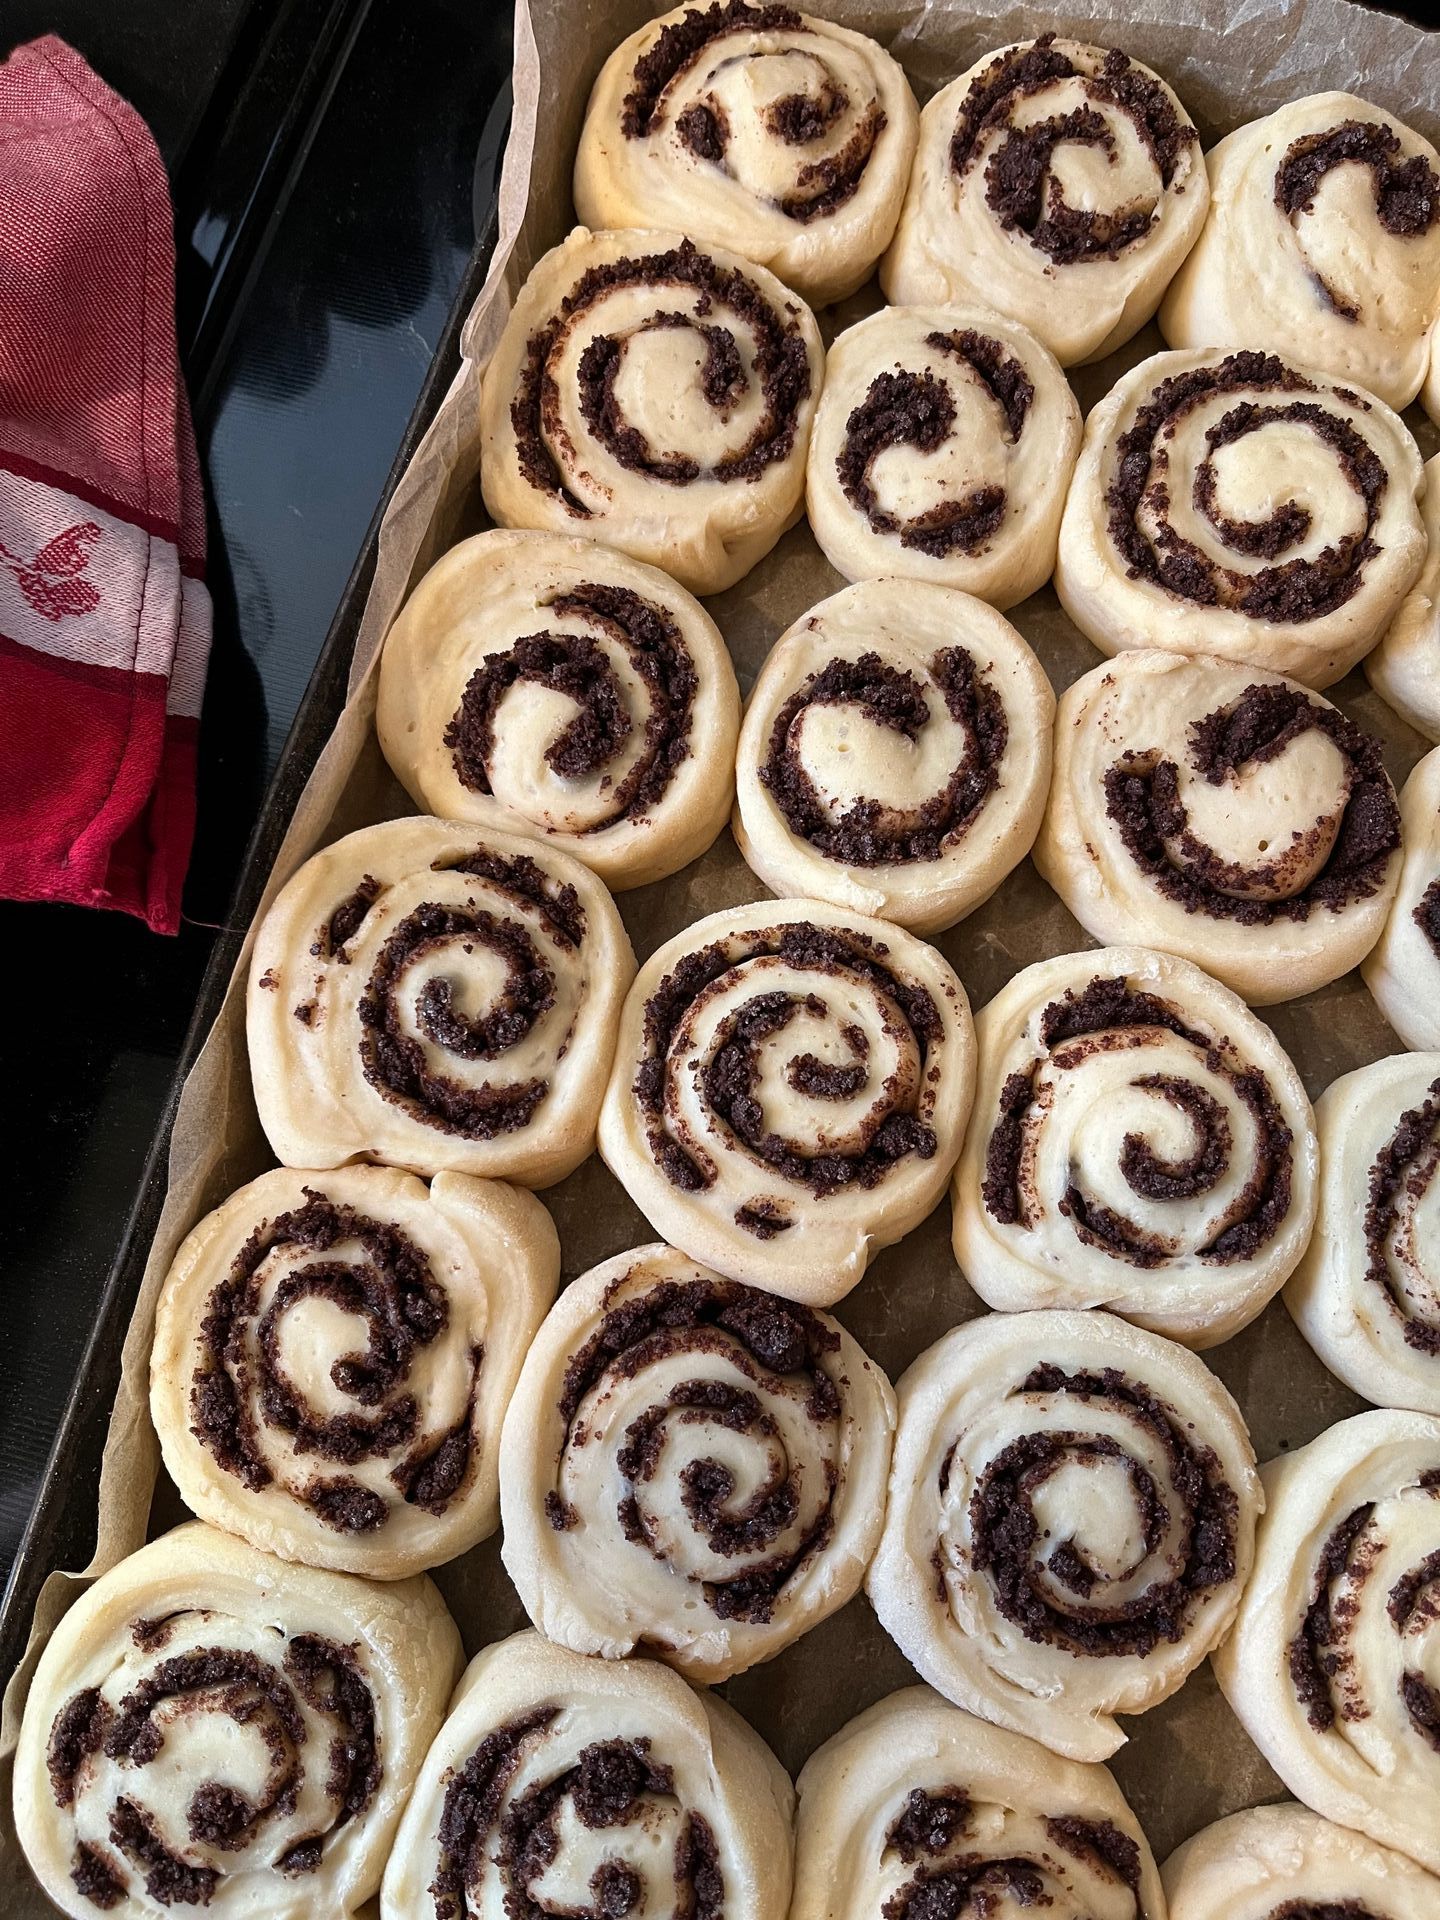
7. Now taking a fringe strip from each side one at a time, "braid" the fringes over the filling until the entire filling is covered. The photo at the top of this post will give you an idea of how the log will look.
8. That cookie log should still be on the parchment paper, so slide it onto a cookie sheet and bake at 350 degrees F. for 15 minutes. Check the log at about 12 minutes and cover loosely with foil if it seems to be browning too quickly.
9. Remove from the oven and slide the cookie log on the parchment onto a cooling rack. Cut into slices with a bench scraper or knife while the log is still slightly warm. Store in an airtight container.