The Sunday Project: Peat Pot Gift Cups
In just an hour or so, you can create unique and inexpensive packaging for a small gift, perfect for the little treat you're giving Mom this Mother's Day. With a little supervision, this is a fun project for kids as well.

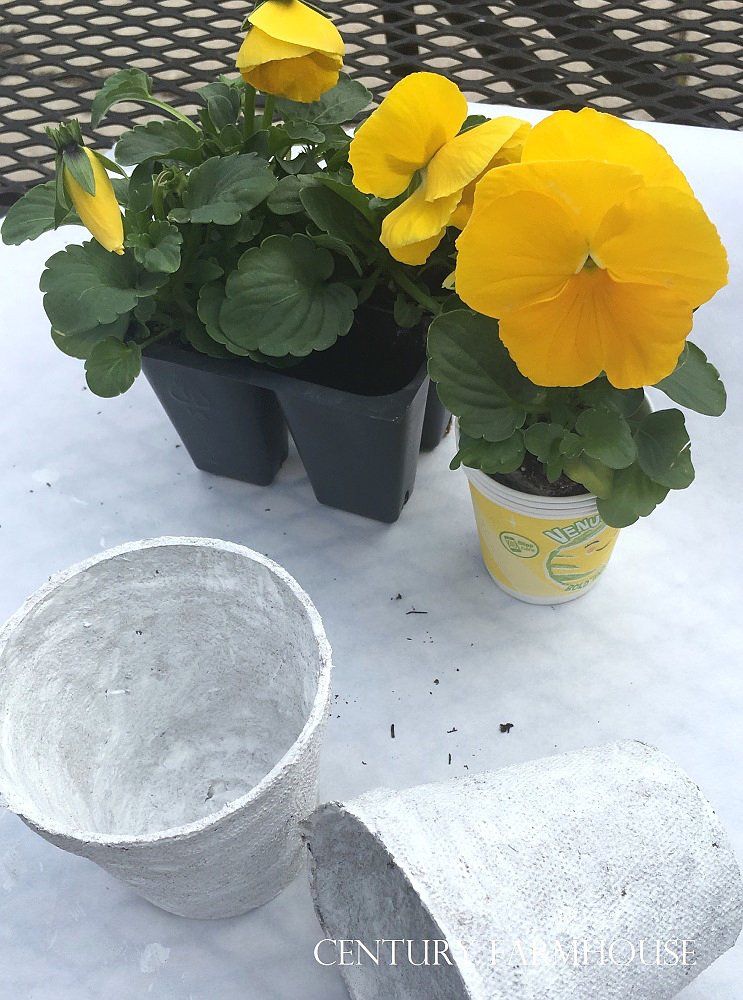
The peat pots I had stashed when I closed up the Century Farmhouse Studio two years ago were eluding me. Again. I knew what kind of box they had been stashed in and I knew they were not with the soaps and other projects I have been working on for the past two years...... You know how things get put in a place that you KNOW you'll remember? Ha. Mother's Day is coming quickly and panic mode was beginning to set in.
It wasn't until I had purchased more peat pots and more paint and more glitter that I came upon the whole project in a flat box on the top shelf in my mother's basement. These cute little painted pots are the perfect packaging for little springtime treats, and I was determined to share them with you whether I found the original ones or not. Now you get to see several options for decorating them and you will have so many pretty peat pots that you'll need to have a garden party!
The little gift cups take only about an hour or so to complete and use materials that just might already be around your house. They are not expensive to create and can be used as a spring decoration for months - even years - to come. Follow along and I'll show you how to create a pretty peat pot gift cup, just in time for Mother's Day.
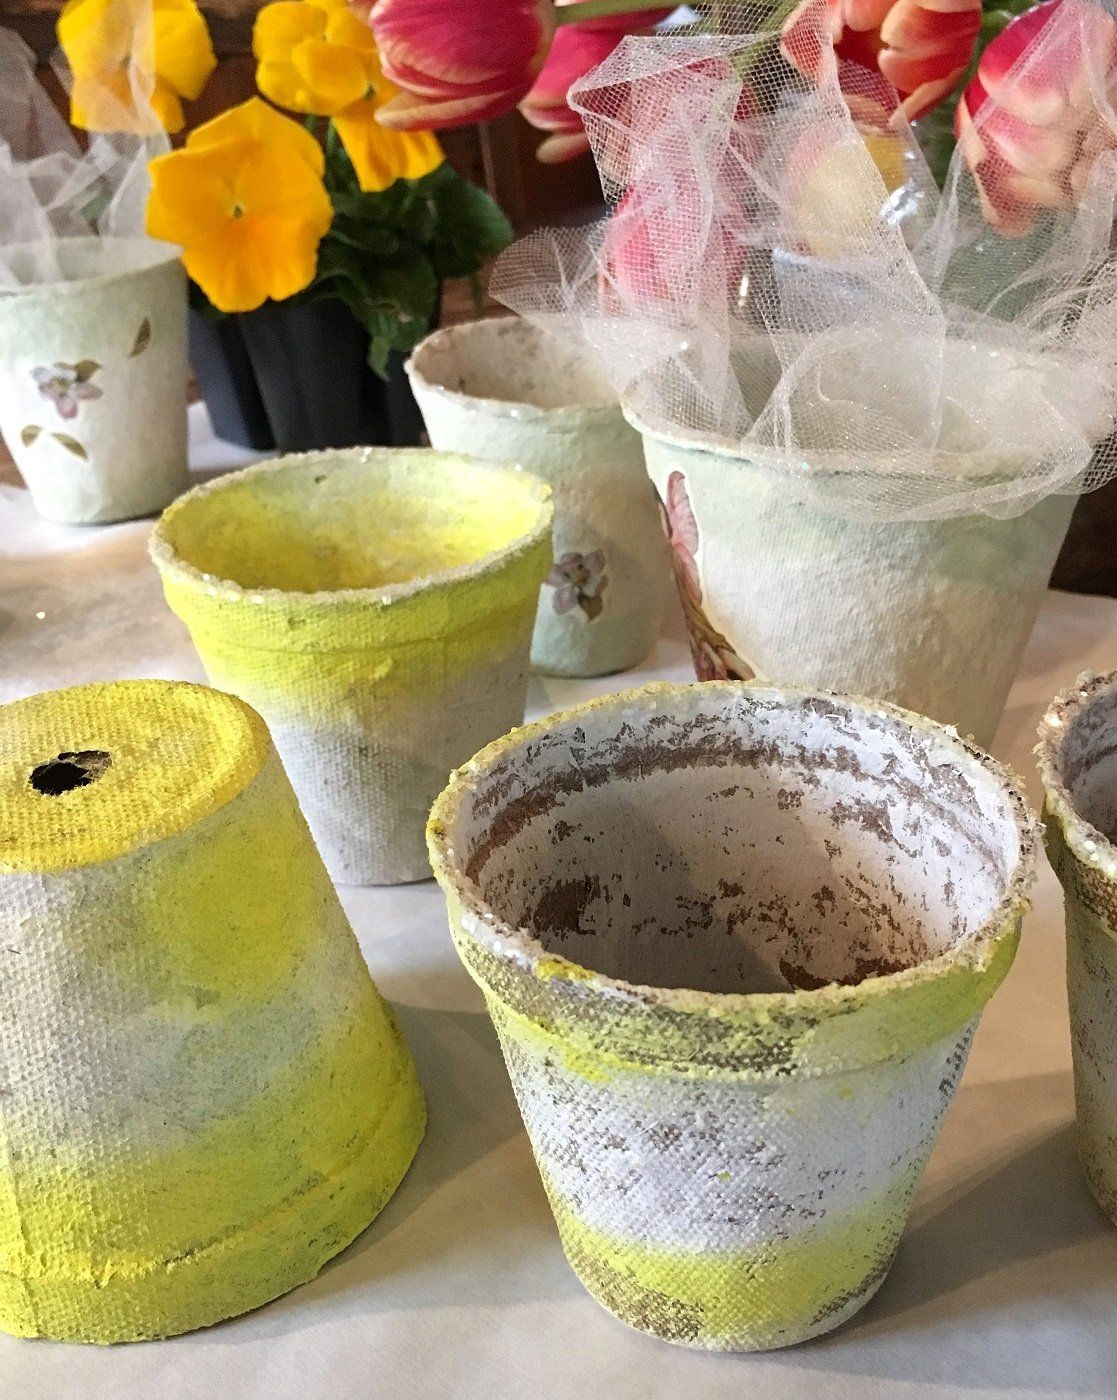
Peat Pot Gift Cups
Find gift ideas that are perfect to tuck into these little peat pot cups at the end of this post!
This really is a kitchen table sort of project.
Here are the materials you'll need to create your own pretty Peat Pot Gift Cups:
peat pots of any size
acrylic paint - I like to use white or ivory, but you can experiment with other colors
spray paint in a light, springtime color
glitter, clear or white color
glue
a foam brush
paper to cover your workspace
gloves to protect your hands when spray painting
wrapping paper in your favorite design (optional)
fine tulle in a coordinating or white color (optional)
glue/varnish such as ModPodge in matte or gloss finish (optional)
Here's how to make them:
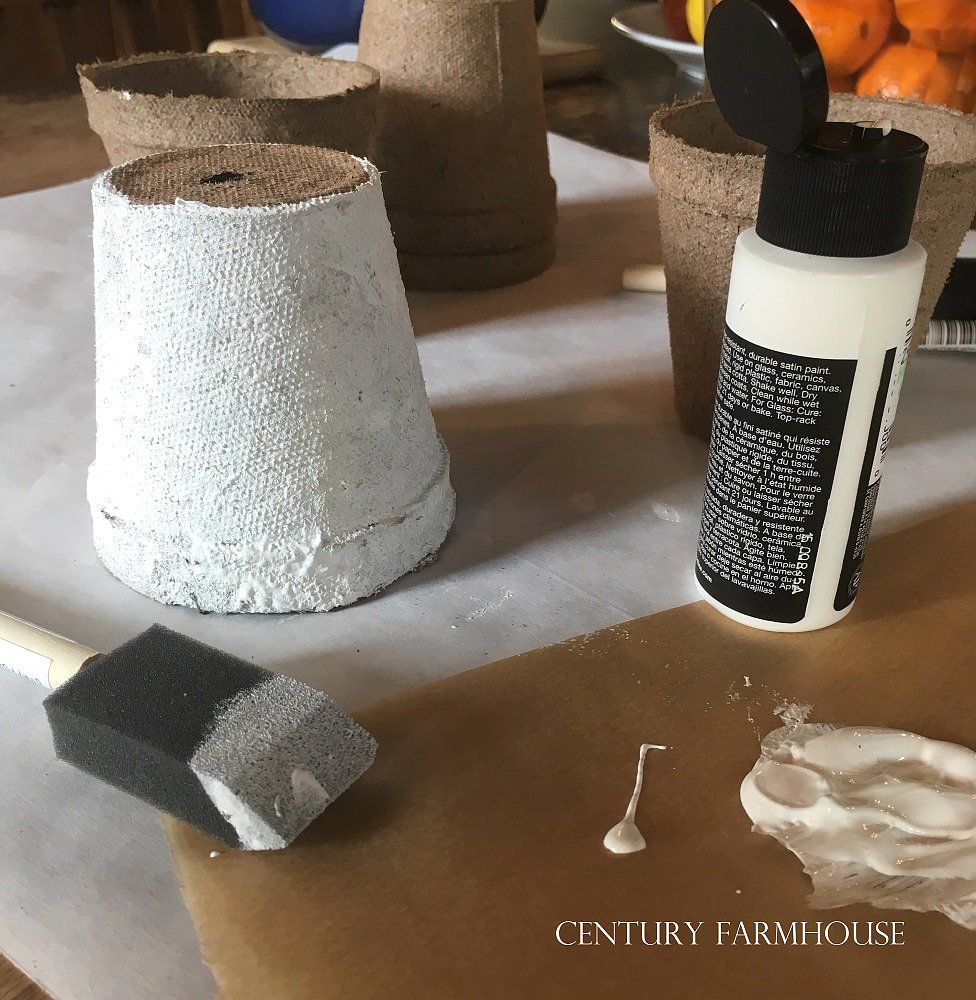
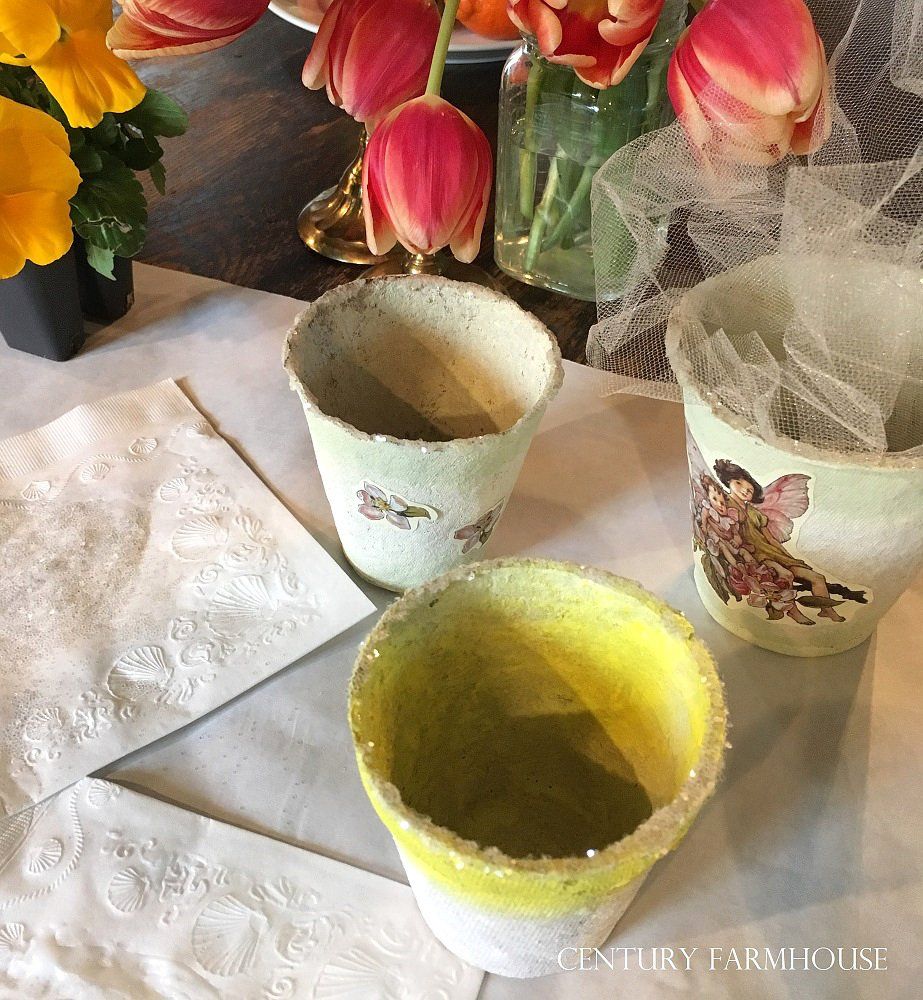
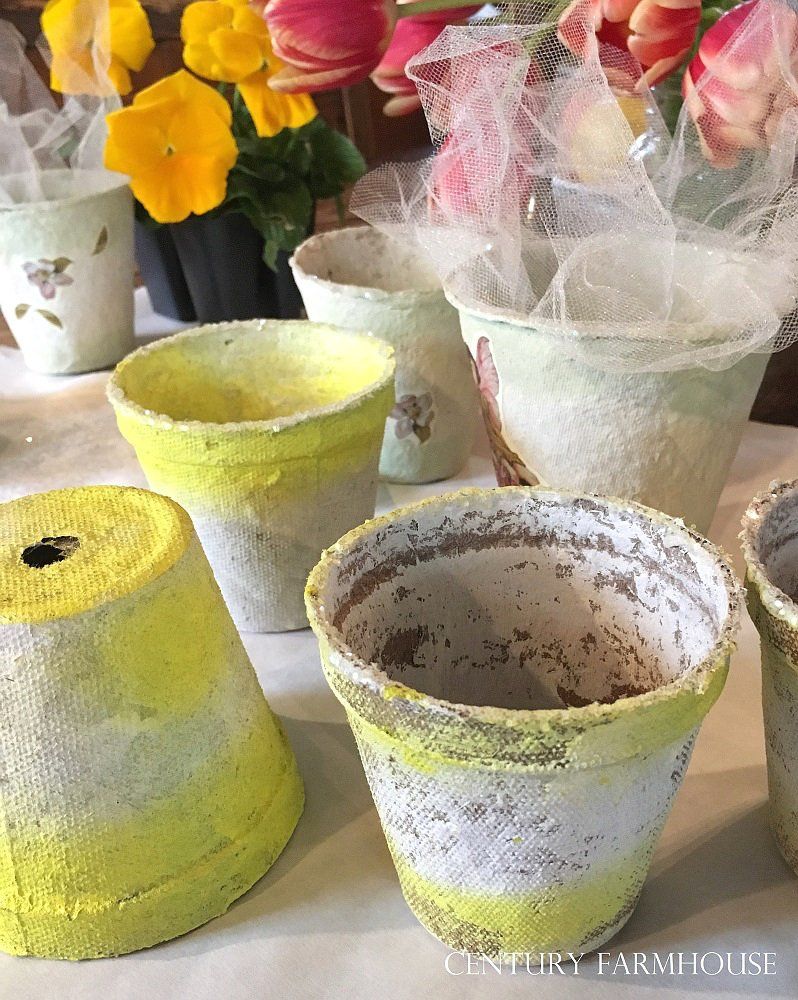
1. As in the photo above, paint the peat pots inside and out with the acrylic paint. I have found that the foam brush works best for getting into the textured finish of the pots and to create a more uniform color. In upcoming photos you'll see some peat pots with a more shabby texture/color. The peat material absorbs the paint quite quickly, and you may find that you'll need to paint several coats to obtain an opaque finish. If the shabbier look suits you, go for it!
2. Once the base coat has dried, take the pots outdoors to spray on a little colorful accent. The easiest way to do this is to wear the gloves and hold the bottom of the pot to add color around the top edge. Allow to dry, then put the peat pot over your gloved hand and spray around the bottom of the pot. The idea is to get a little edge of color on the top and on the bottom, with the base coat peeking out between. (If doing this project with children, this is the part where the adult takes over for a few moments).
3.
As you can see in the photo above, you can also add a whimsical touch to your peat pot by decoupaging pretty paper clippings onto it. The examples above are taken from wrapping paper, but other lightweight paper prints can also be used. Attach the design onto the painted pot with glue or with a ModPodge type glue/varnish. Use the ModPodge to add a finish coat to the peat pot if you wish. Once it is dry, continue with adding a shimmer to the edge with glitter as described in the next section. A square of netting can also be glued into the bottom of the peat pot, but wait until you have completely finished with paints and glitter and the pot has dried thoroughly.
Cutting the tulle:
The size of the piece of tulle is roughly square; its length and width are twice the height of the cup, plus two to three inches more. For example: if your peat pot is 4 inches tall, the tulle will be approximately 10 inches square or a little more, depending upon how much tulle you'd like to show above the edge of the pot. (4 inches x 2 = 8 inches, plus 2 inches = 10 inches square).
Attaching the tulle to the pot:
Once the paints, glue, and glitter have dried you can easily attach the tulle. Place a drop or two of glue close to the center bottom of the inside of the peat pot. Fold the tulle into fourths and place the folded corner in the glue. Gently open the tulle and use your hand to press the center of the tulle square into the glue. Remove your hand and allow the glue to dry for at least a half hour before placing anything into the pot.
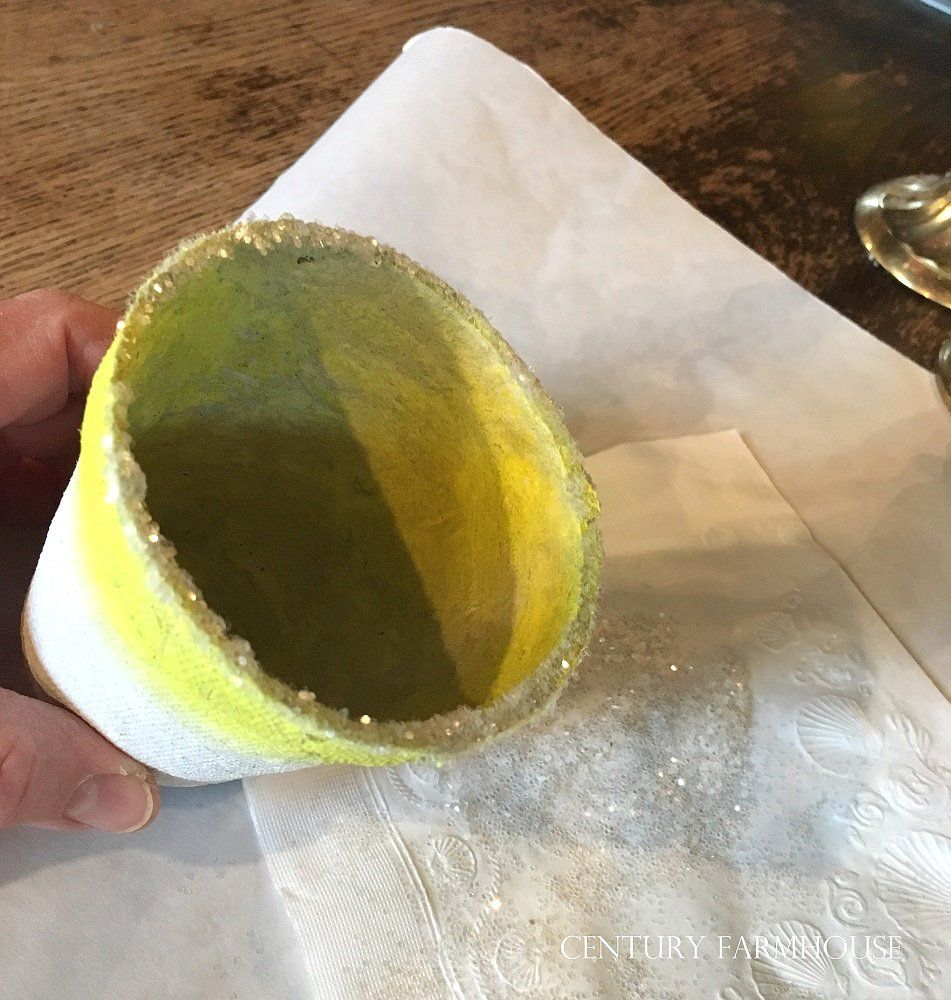
4. Sometimes a little glimmer of shine adds a pretty touch to a work of art. If you'd like to add a glittered edge to your peat pot, simply drizzle glue on a napkin or piece of paper, dip the edge of the peat pot in the glue, then into a little pile of glitter that you've poured on another piece of paper. This glitter step is optional, but be sure to do it before adding tulle or you'll have to stuff the tulle into the cup to add the glitter! (I know this because I have done this!)
Now comes the really fun part! Fill the cups with tiny gifts, such as those listed below.
Here are some gift ideas that will be a perfect fit in a 4-inch peat pot:
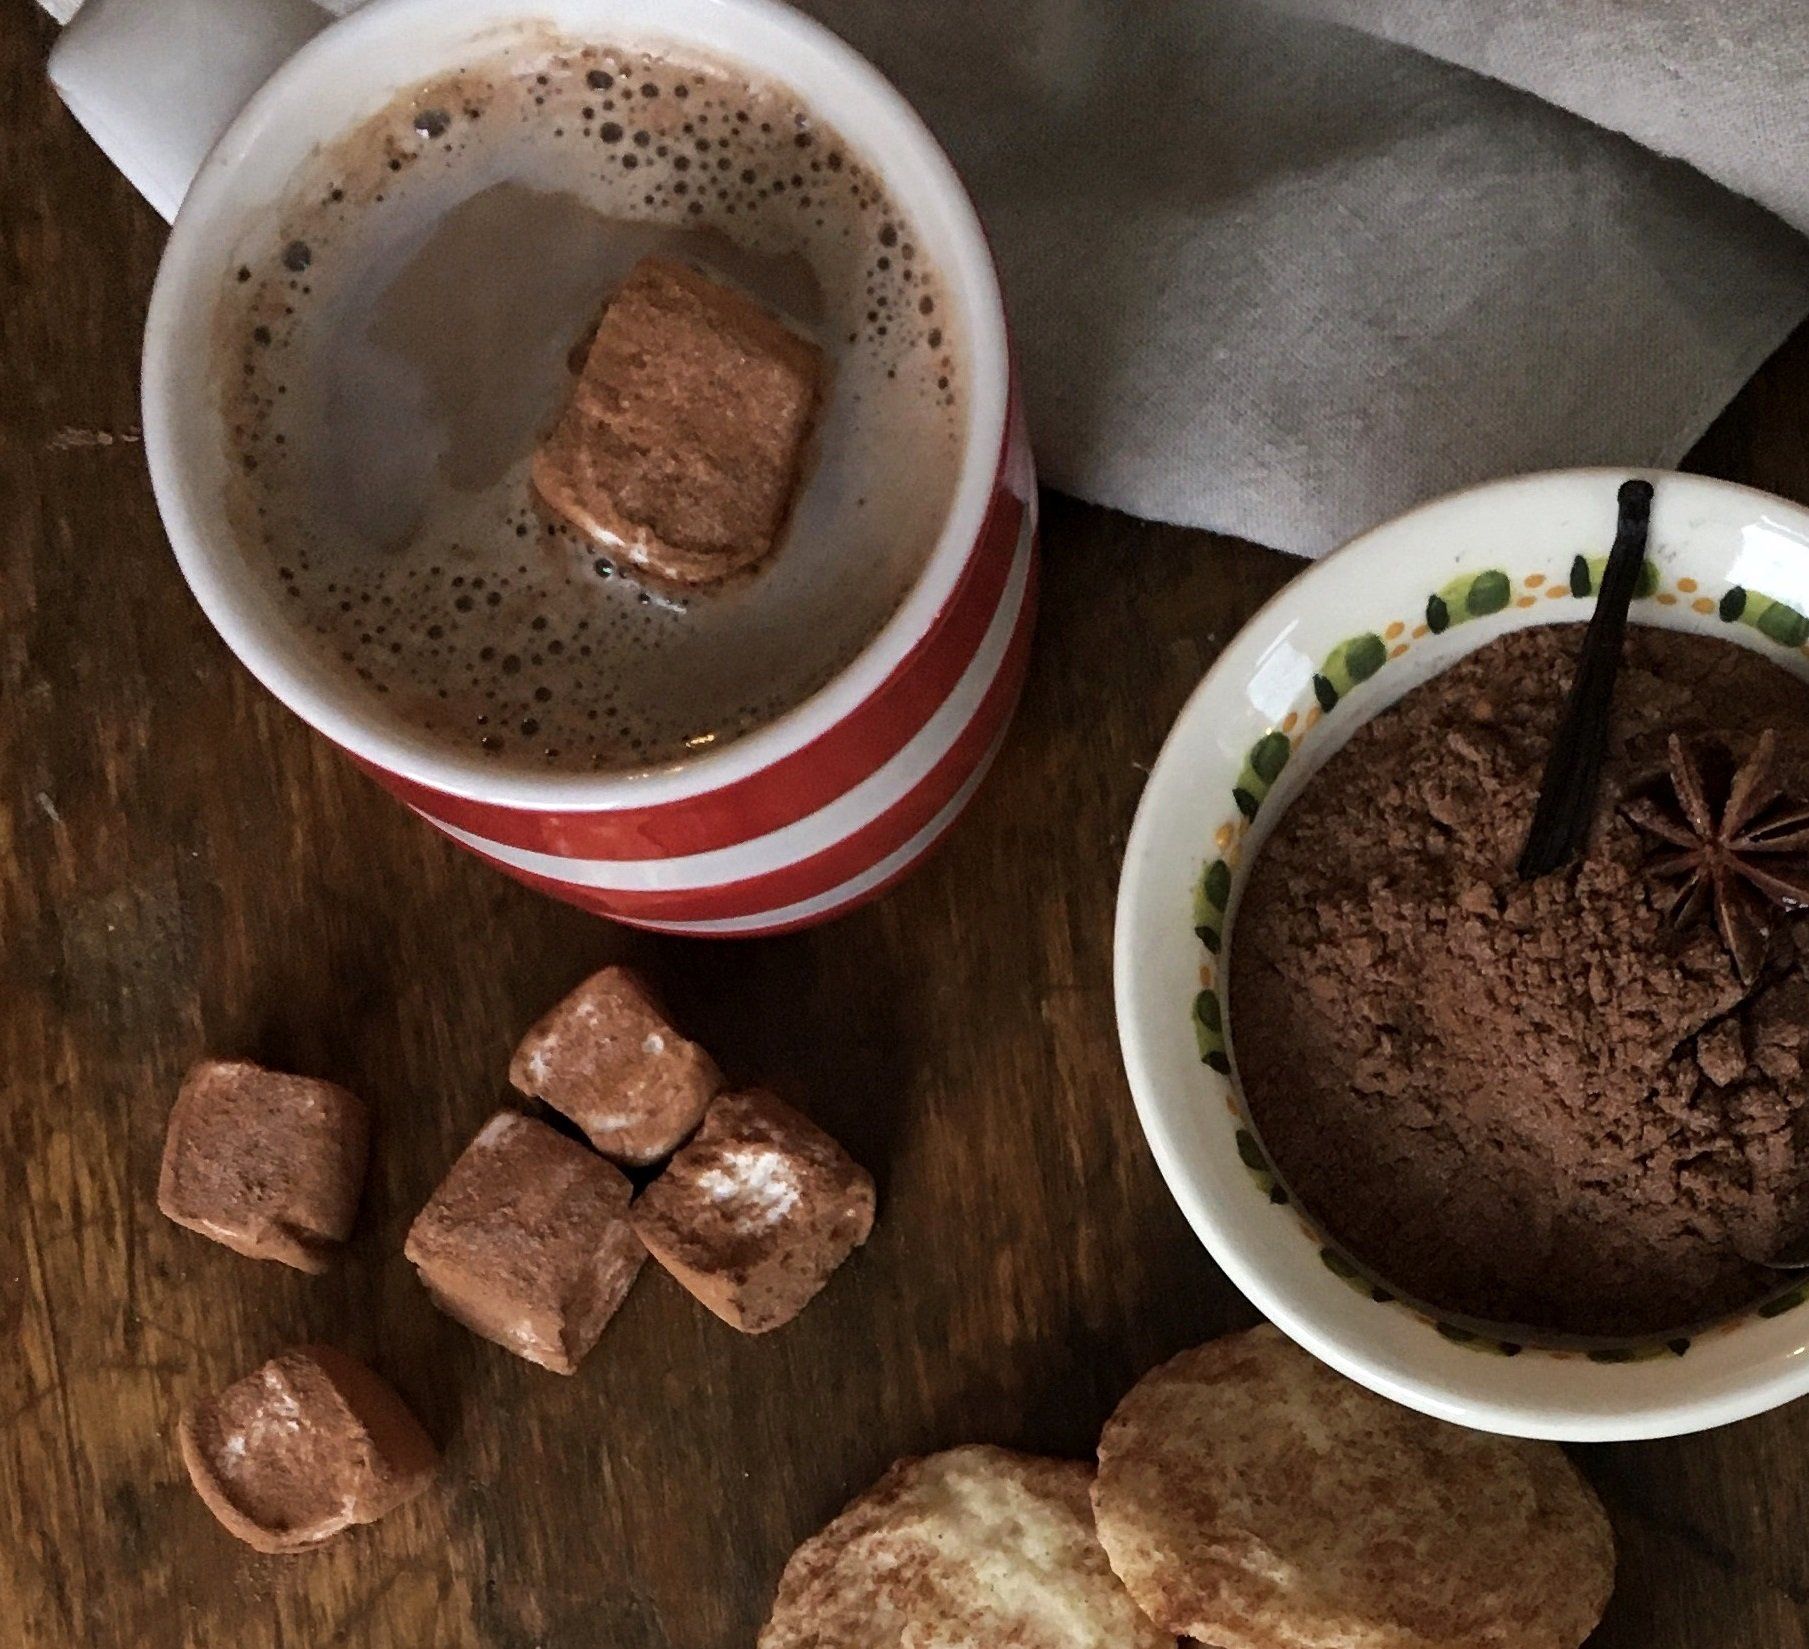
-wrapped candies in brightly colored paper shreds (like your Easter basket).
-a single, small plant/bloom in a 3-ounce paper cup; top with sphagnum moss.
- gardening gloves rolled tightly and tied with pretty ribbons. Lengths of curled ribbons in bright colors can be used as a nest for the gloves.
- packets of seeds.
- packets of tea.
- a tiny jar of honey or jam wrapped in crinkly paper and tucked into the tulle or into paper shreds.
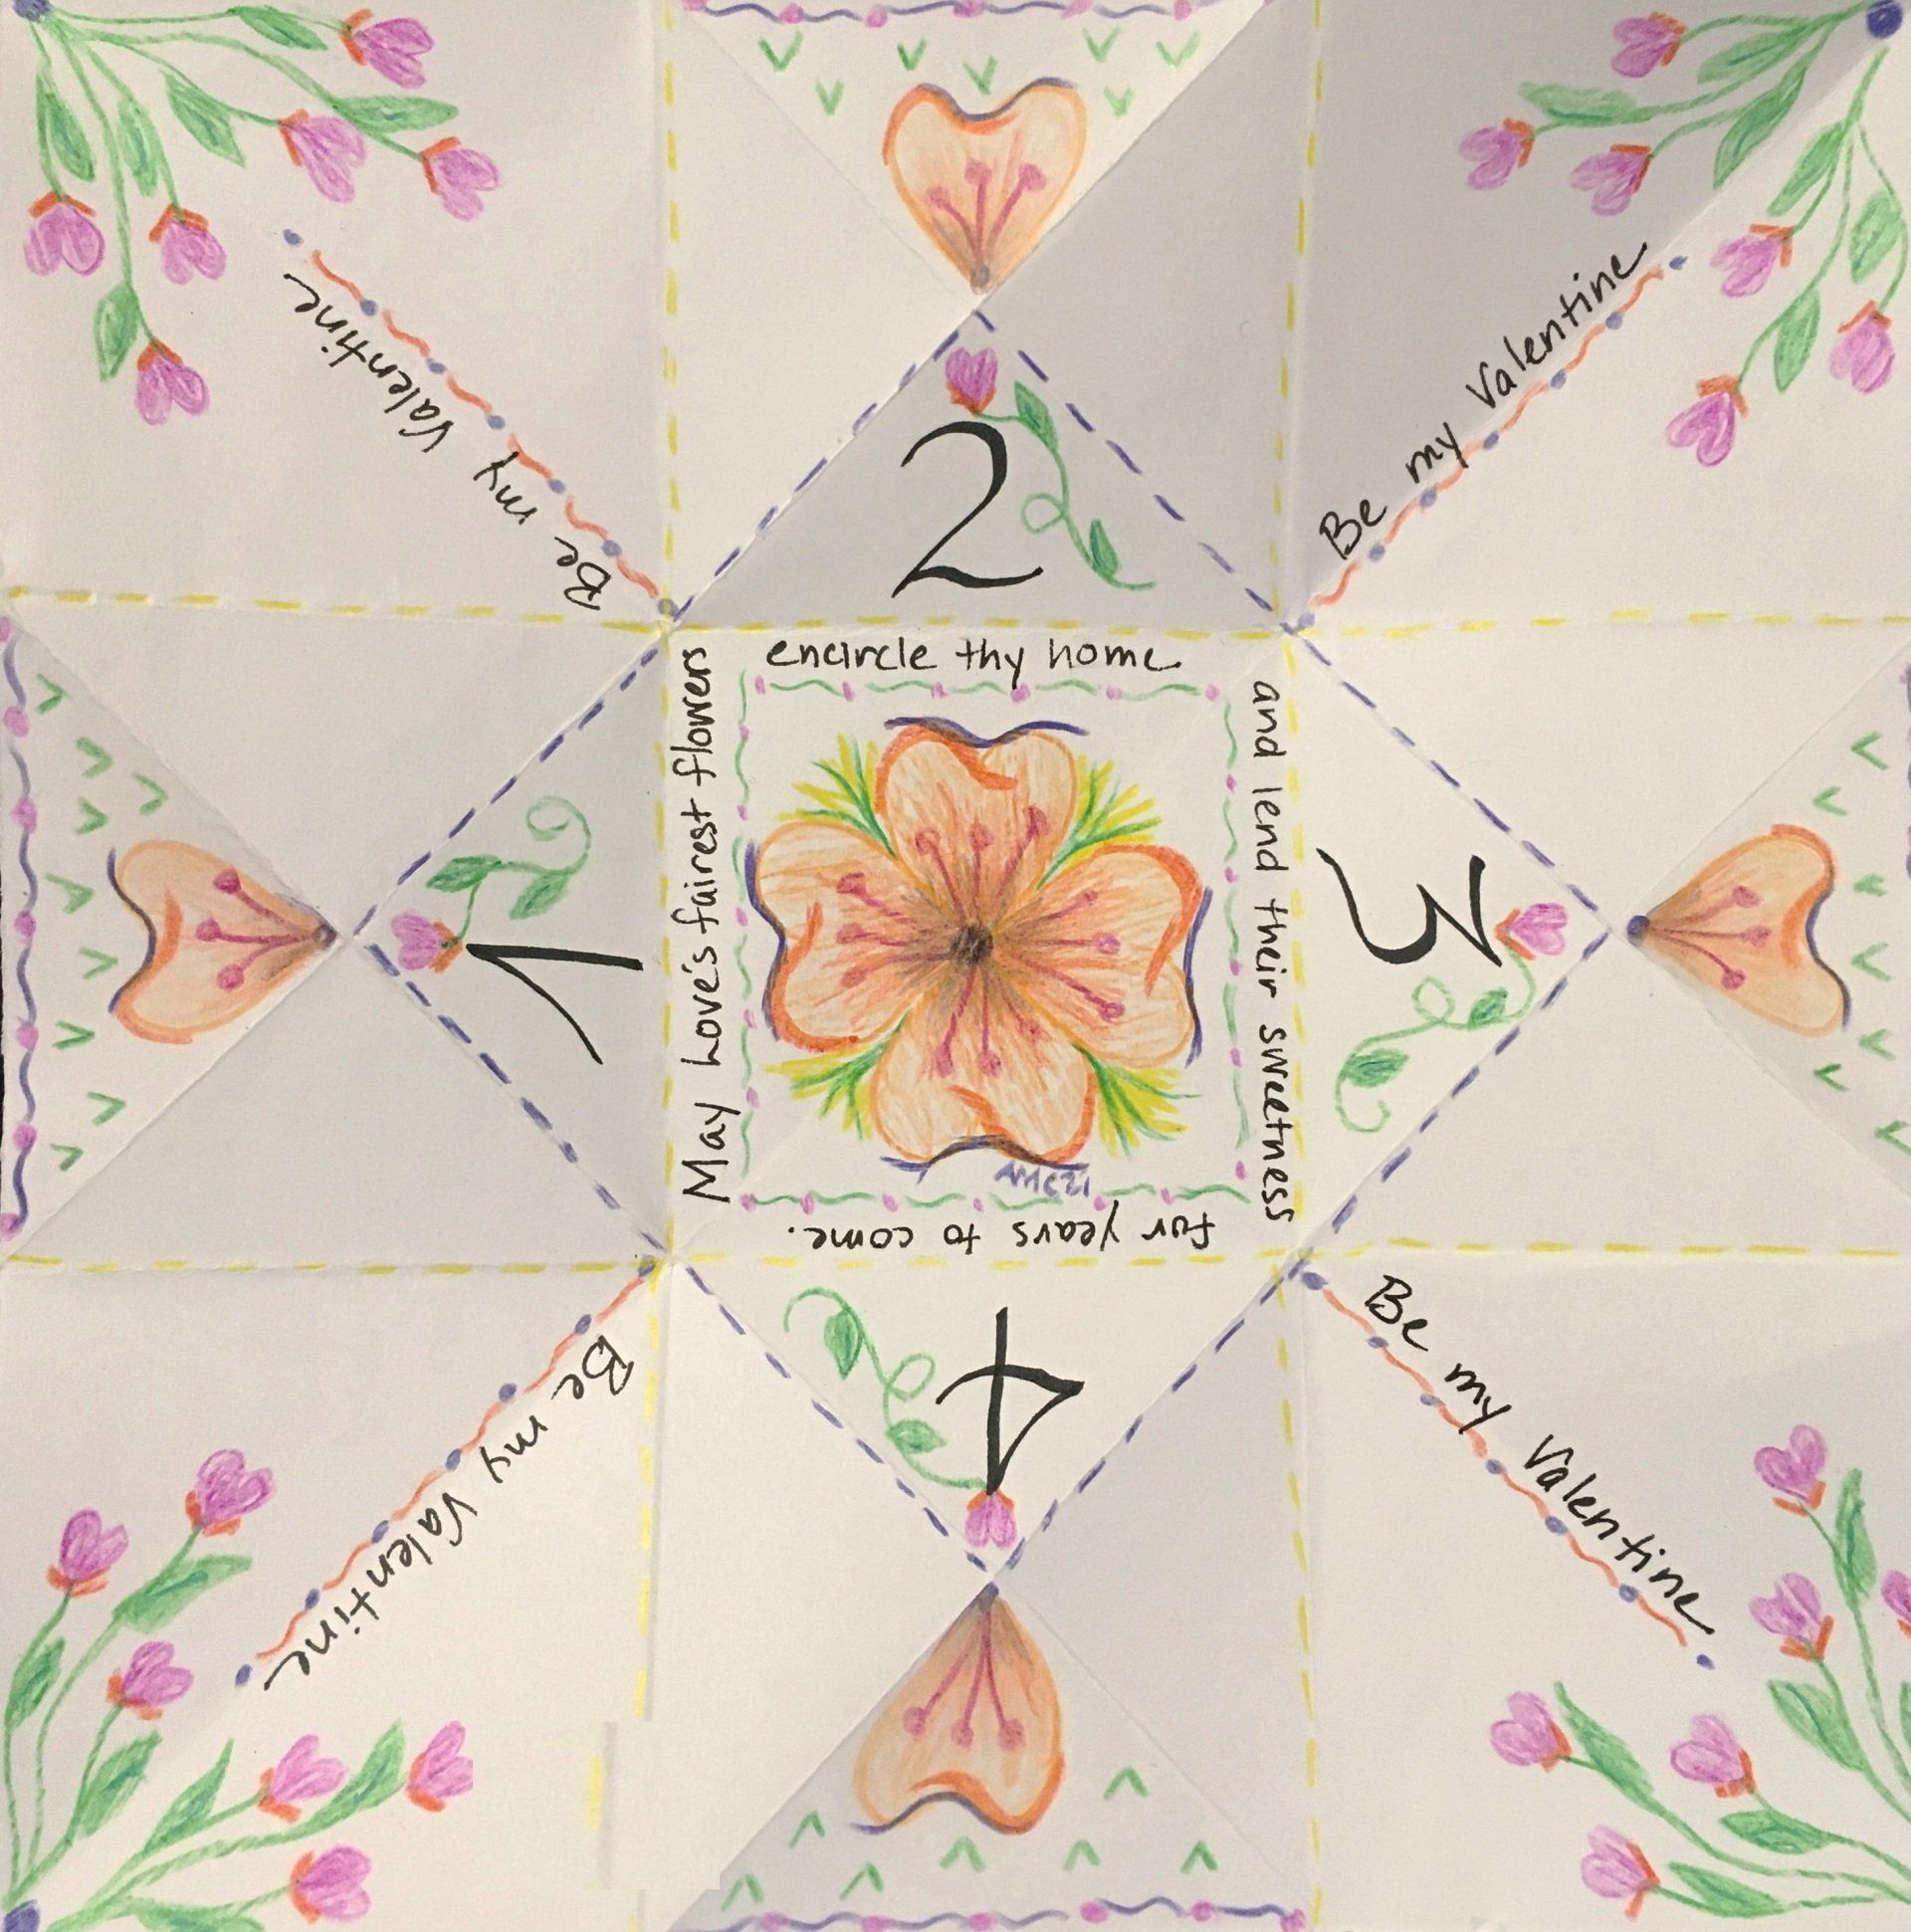
- small pictures of flowers drawn by small children, rolled up and tied with ribbons.
- paper flowers created by small children, glued to popsicle sticks and stuck into a ball of crinkled brown paper in the bottom of the cup
What would you put in a Peat Pot Gift Cup? Tell me!