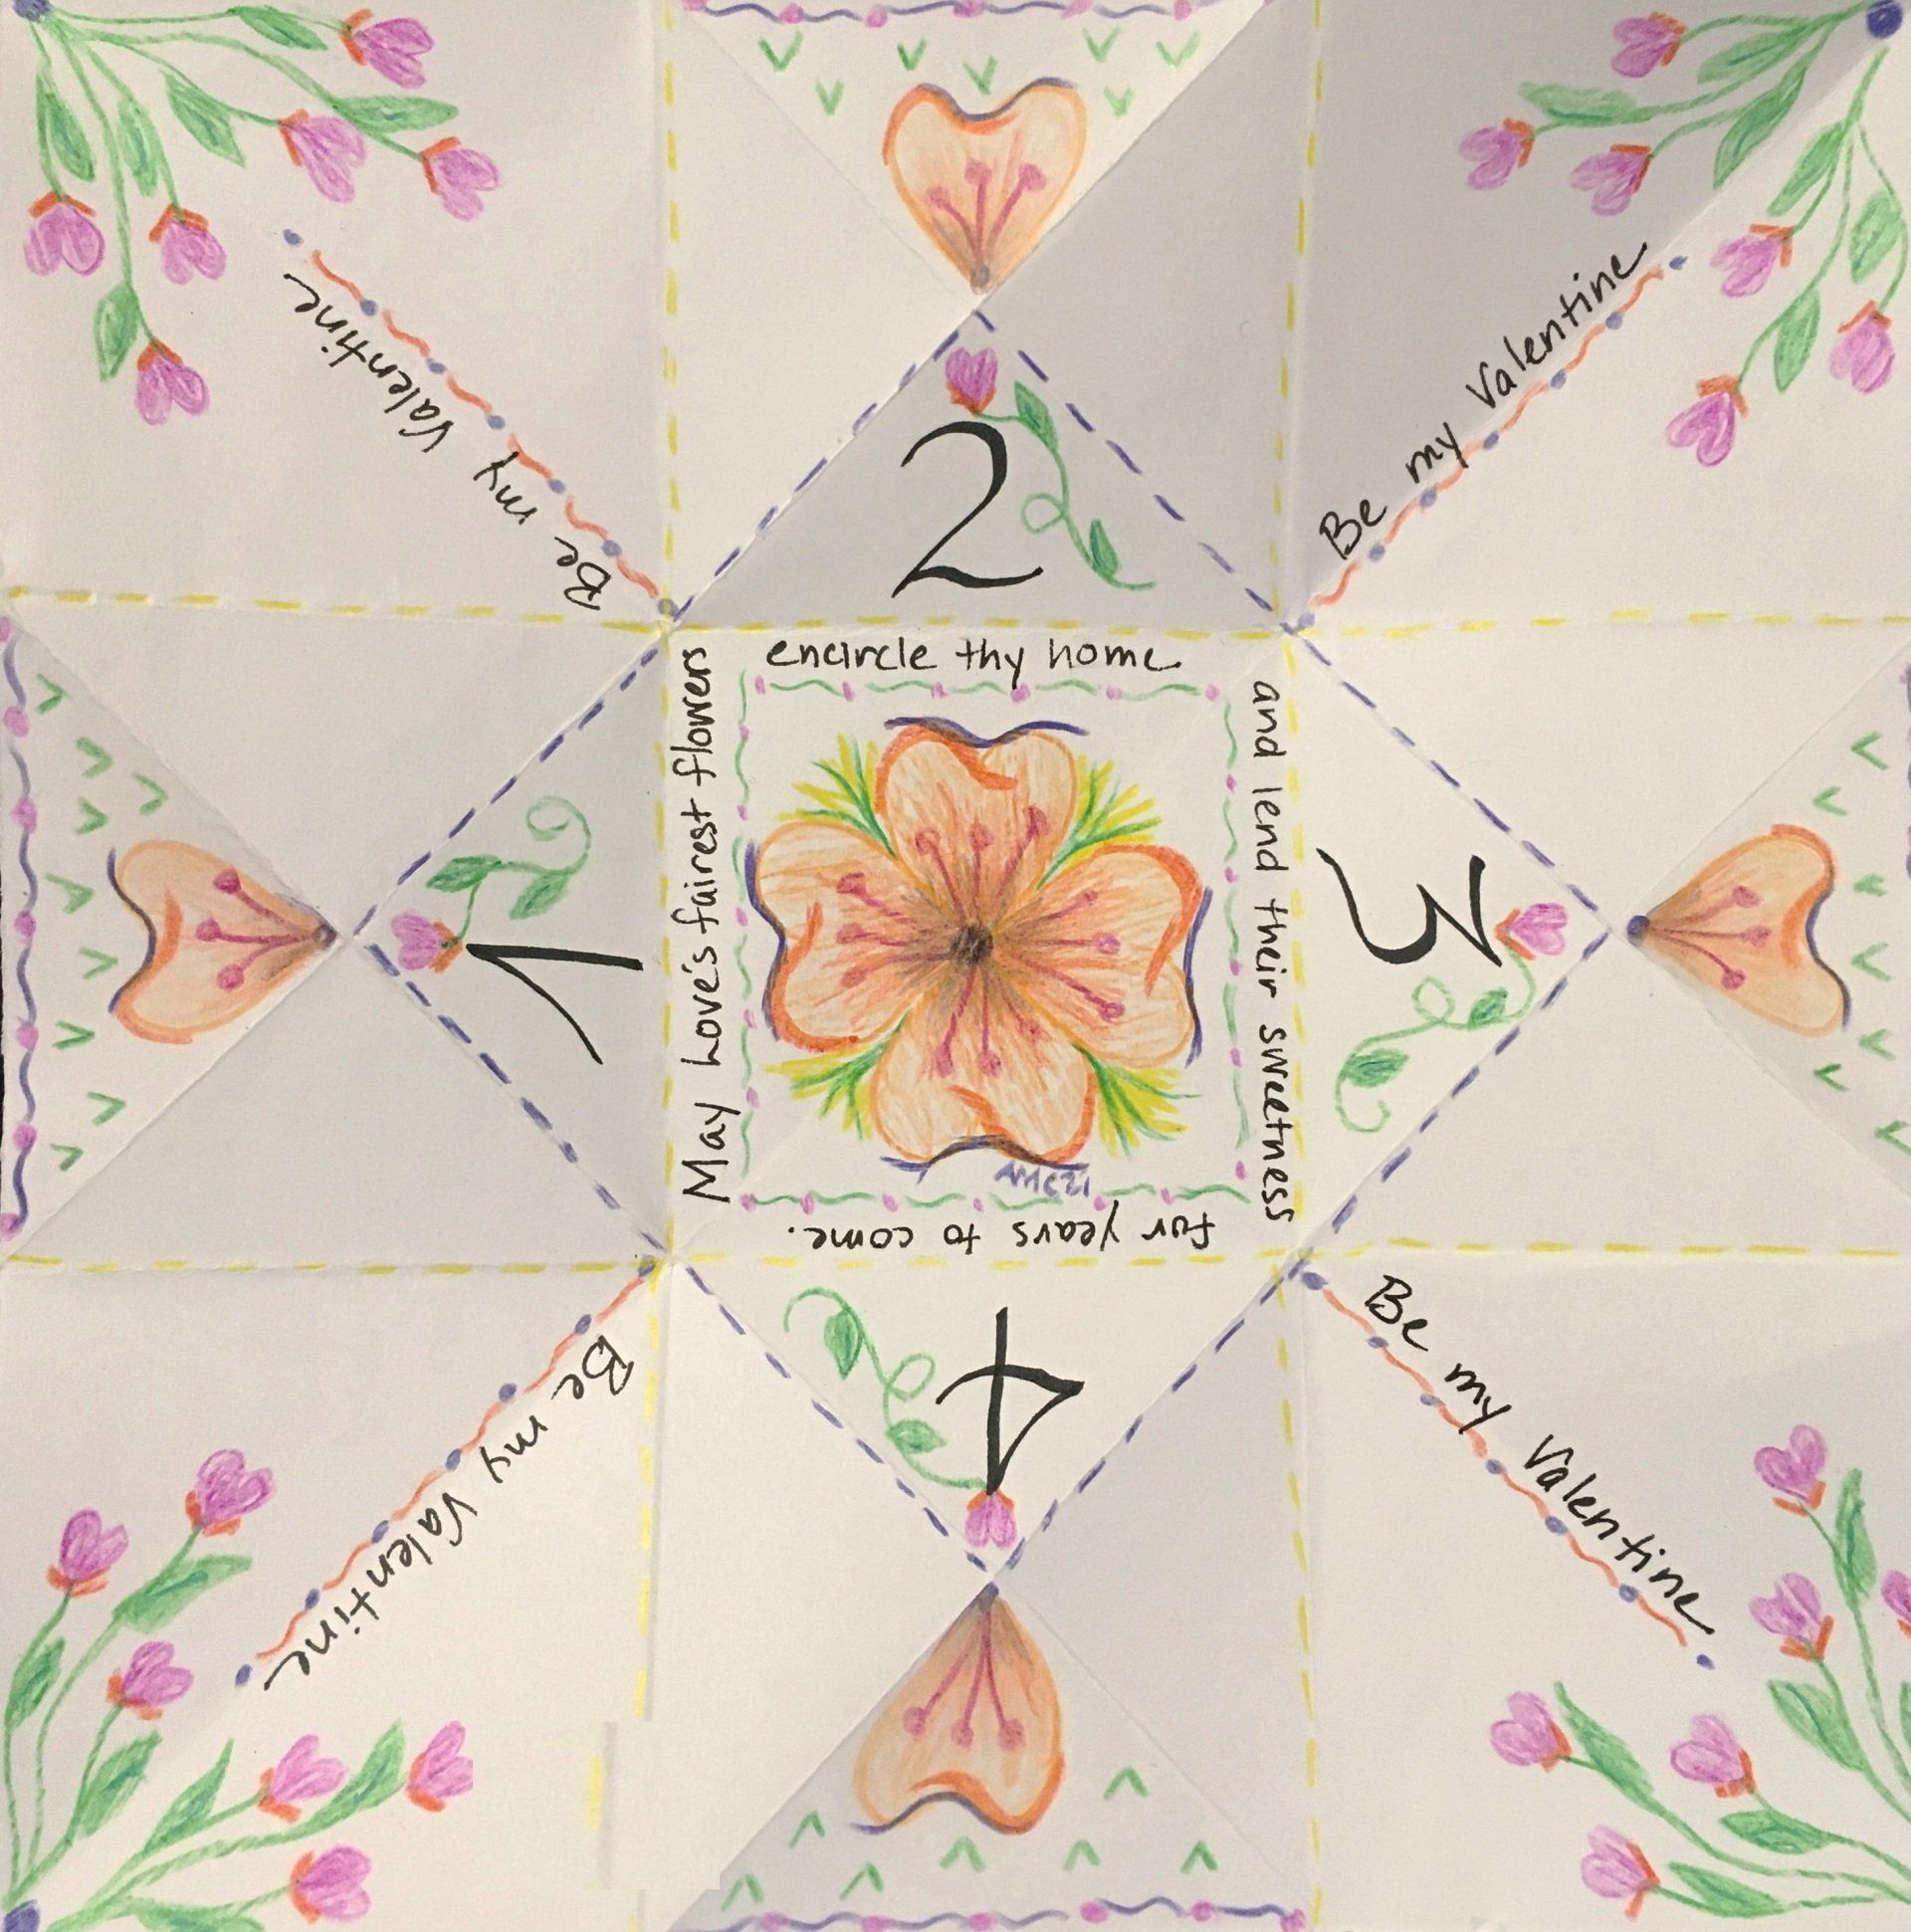
Potato Print Valentines
Grab a potato and an ink pad or paint, a little paper, a marker or two, and the kids can make cute valentines. A perfect project for a snowy day!

Wisconsin is closed.
It has been snowing since 10PM last evening; it is nearly noon now and still the snow is falling. The wind is picking up too. I was outside a little while ago and it was not too cold so wandering around in fluffy, foot-deep snow was actually fun.
It's a great day to get crafty too, so I want to share a project that I've been playing with. You probably have everything you need for this at your house already, so find the kids and find the materials and have a grand, not-too-messy time making valentines for everyone you know!
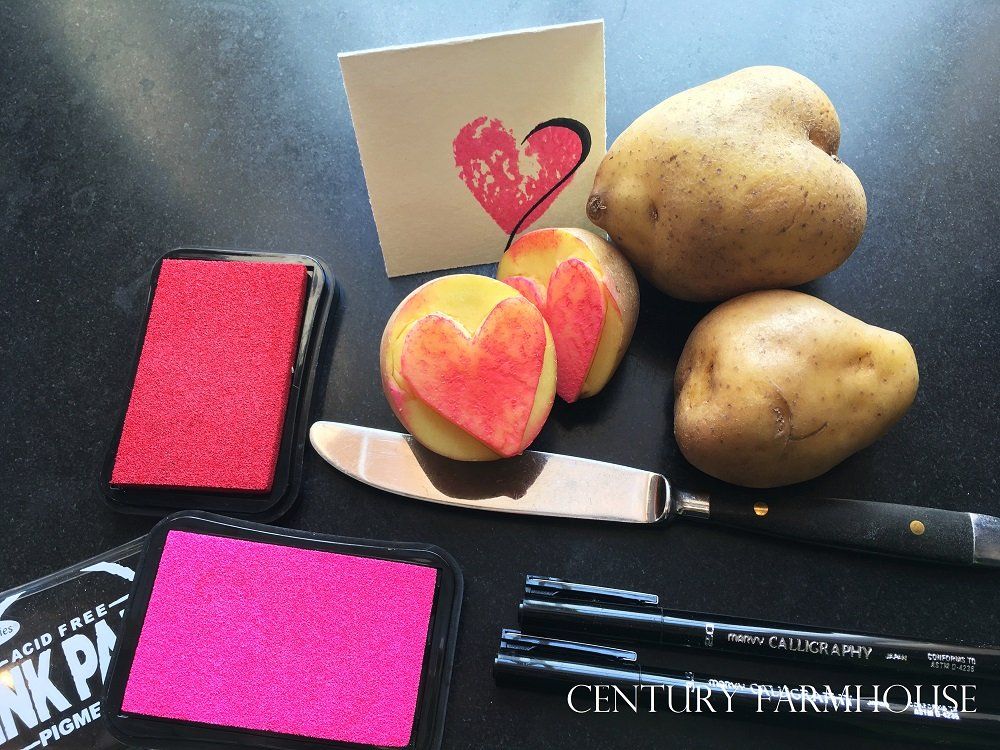
Materials:
- Potatoes!
Each one will make at least two stamps.
- A knife to carve with:
If children are carving, a not-too-sharp table knife works pretty well, although it is tricky to get really tidy lines and sharp indentations. If you are doing the carving, a sharper paring knife will make cleaner cuts. Just be careful!
- Stamp pads
in your favorite valentine colors
- Acrylic, watercolor, or tempera paints
also work for this project but are a little messier
- Calligraphy pens or markers
- Glitter and glue
(optional)
- Construction paper or heavyweight multimedia paper or cardstock
Let's get started!
1.
Wash the potatoes and dry them as thoroughly as possible. You might let them sit and air dry for about a half hour while you gather the rest of the materials and the kids.
2.
If you wish, cover the work area to protect it from ink/paint spills or work with large sheets of paper or newspaper as placemats. This is not a particularly messy project unless you break out the paints and glitter, but still.....
3.
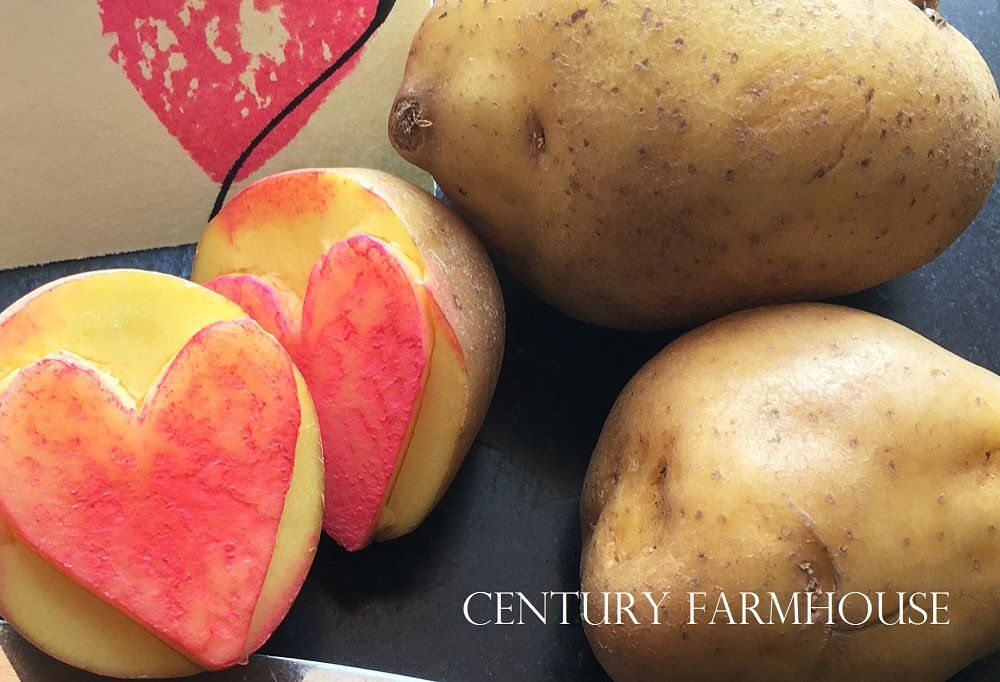
Slice the potato(s) in half. You can start carving right away or you can outline the design you wish to create on the flat side of the cut potato with the tip of a pencil. The pencil lead won't show up well, but if you press a little into the potato as you draw, you'll have a faint outline of the design you'll carve.
4.
Holding the knife perpendicular to the flat side of the potato, push the tip of the knife into the potato about 1/4 inch deep and either move it in and out along the design edge or slide it along the line you want to carve. There is no need to go deeper than about 1/4 inch.
5.
When you have outlined the design, hold the knife horizontally along the side of the potato (parallel to the flat, cut side of the potato but about 1/4 inch below that flat side), and gently work it into the side of the potato to meet the perpendicular cuts you made first. In other words, you carve the design into the top, flat side, then carve away the sides to reveal the design. If you've carved the shape deeply enough, the side pieces should just fall away as you cut them.
6. Now comes the fun part!
Dip the potato design into paint or rub it gently in one direction on the stamp pad, then stamp the design onto the paper or cardstock. Allow to dry - which should only take a few minutes - then continue to decorate the card as you'd like. Voila! Pretty valentines!
Other ideas for stamping:
Create wrapping paper
by stamping newsprint, lightweight papers and tissue paper sheets.
Carve other designs as you'd like. Simple designs are the easiest to carve, but the sky is the limit as far as design ideas go. Stamp cards for Easter, Mother's Day or Father's Day, gift card enclosures, Christmas cards, etc.
Have a potato print party!
Adults pre-carve potatoes and set up the stamping table. Kids can stamp and decorate as they'd like. If the weather is nice, do this outside and break out the glitter! Kids love projects that are messy.